Photo 1:
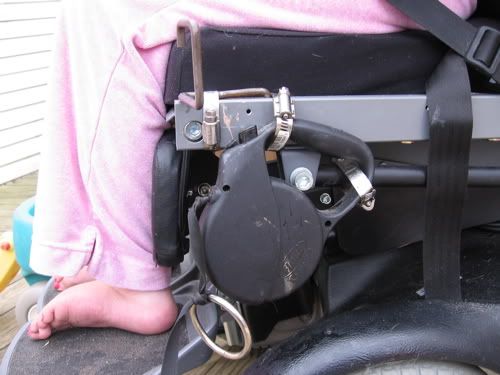
Black, 18ft, LEASH Flexi (Not Cord!!) Attached w/ two Hose Clamps. The Flexi is left in the unlocked position. A metal rod is bent to the appropriate shape (length, height, ect) and attached by a third Hose Clamp. Mine, is bent in five 90 degree angles! The first is going INTO a hole drilled into the base of my wheelchair. This is the ONLY modifying done to my actual wheelchair.
In the next side view, you can see that a ring is tied to the leash.
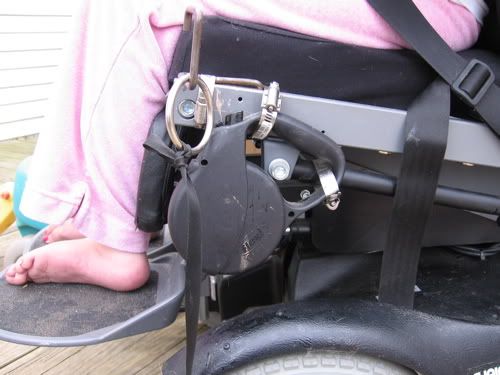
This ring, when hooked onto the peg, keeps the dog at a desired length of space.
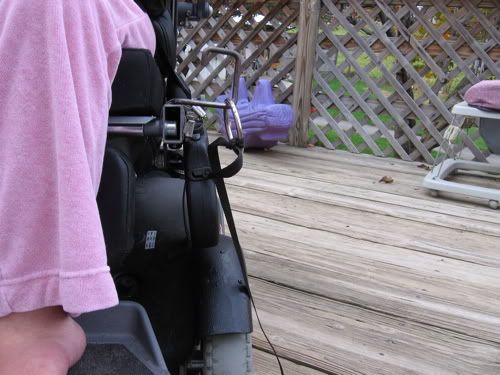
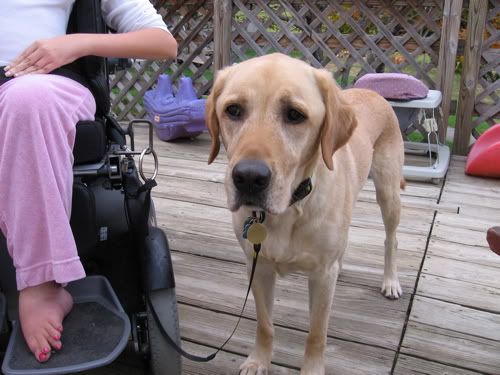
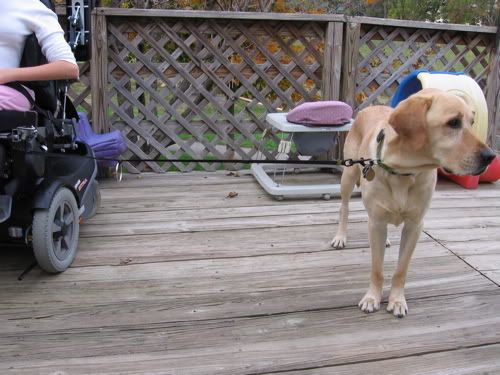
Here are two front views, one is unpegged and the other is pegged.
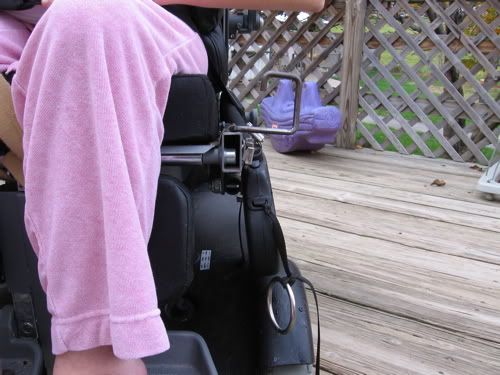
This method for me has been incredibly helpful. The extra space, when safe, allow Winston to go further when pottying, and deliver an object to someone that is further away without ever being taken off of his leash.
The final two photographs show him on his leash pegged, and unpegged!
Please email me with any questions or suggestions!